
DIY Wood Slice Cake Serving Pedestal
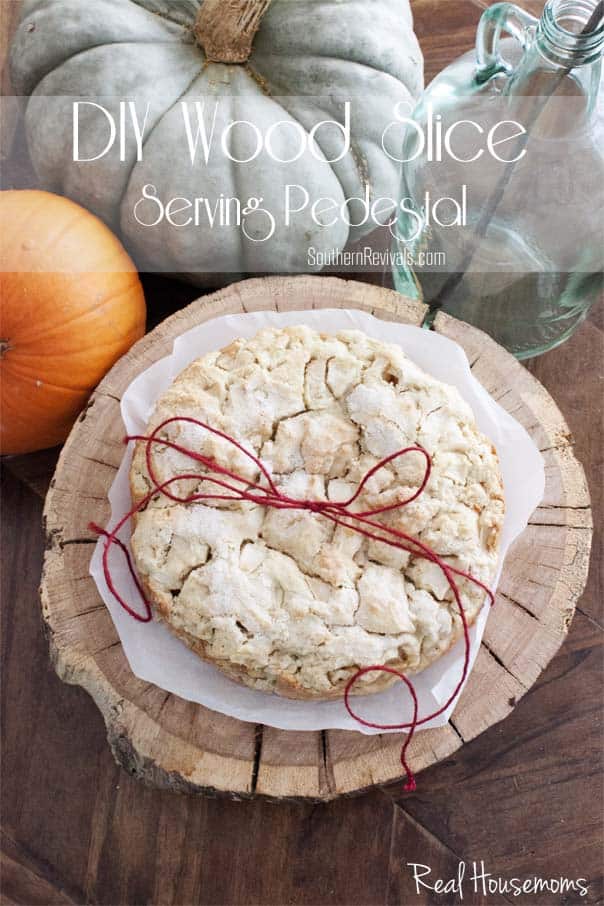
My favorite DIYs almost always involve using things I already have on hand and if those things also come from nature, so much the better! Here’s my practically free version of a the very trendy wood slice in a pedestal version. Perfect for gift giving, showing off yummy desserts or as an amazing centerpiece for you harvest table. The best part is you probably already have everything you need on hand and it’s done in a day!
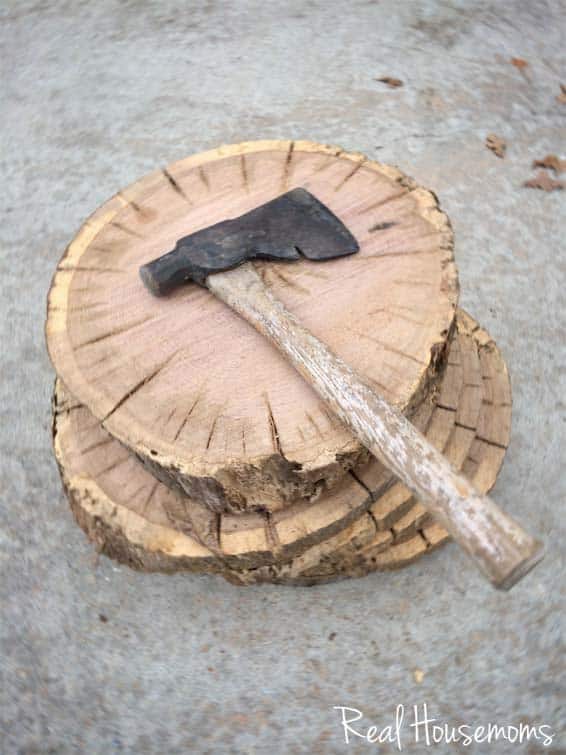
My yard is surrounded by Oak trees and where there aren’t oaks, there are Pine. The other day as we were cleaning up the yard for the season I noticed several downed trees and, as usual, felt the need to make something out of them. Since there were large and small tree trunks one the first things that came to mind was a woodlands inspired pedestal. We’ve all seen the trendy woodslice done as charges or even printed on dinner plates. I am obsessed!
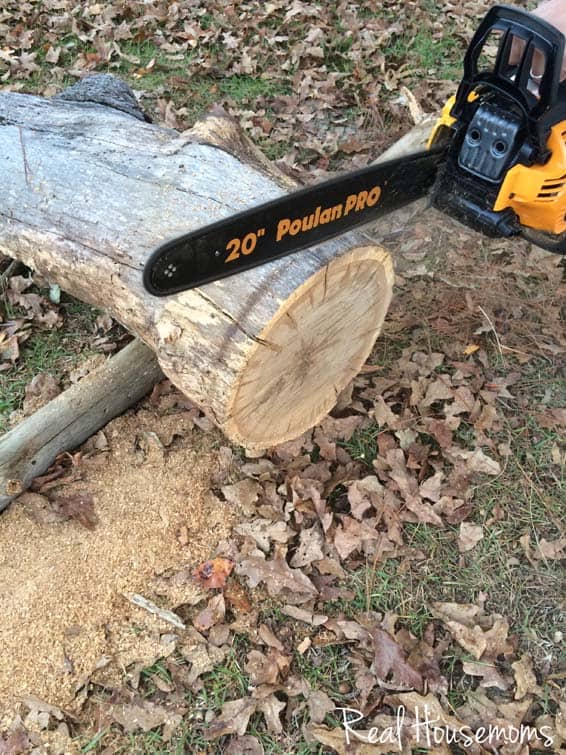
So, since the chainsaw was already out I got busy cutting slice after slice. I was really, really glad that I splurged last year on my husband’s Christmas gift. It cut the slices easily and quickly and almost perfectly.
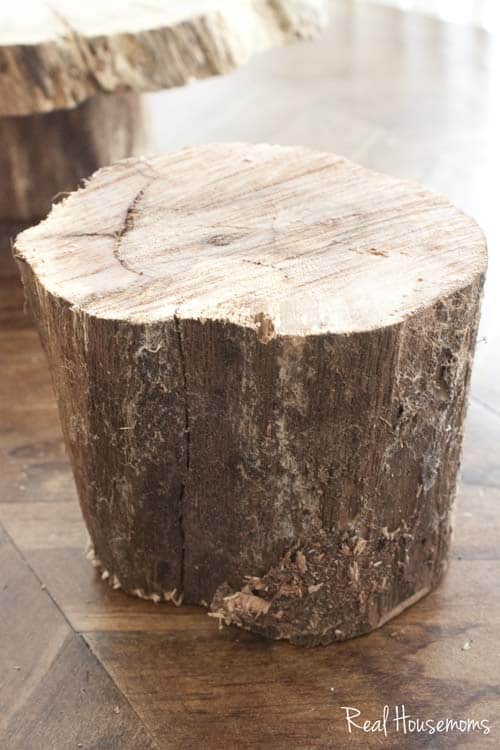
One thing you’ll want to make sure if is that your pedestal piece evenly distributes your top piece’s weight. You don’t want it toppling over. So make sure your bottom piece is wide enough in diameter to support your top piece.
You’ll also want to make sure your pieces fit together as flatly as possible. you probably won’t get that straight out of the chainsaw. You can trim up pieces with a chop saw or simply sand your pieces to create flat edges.
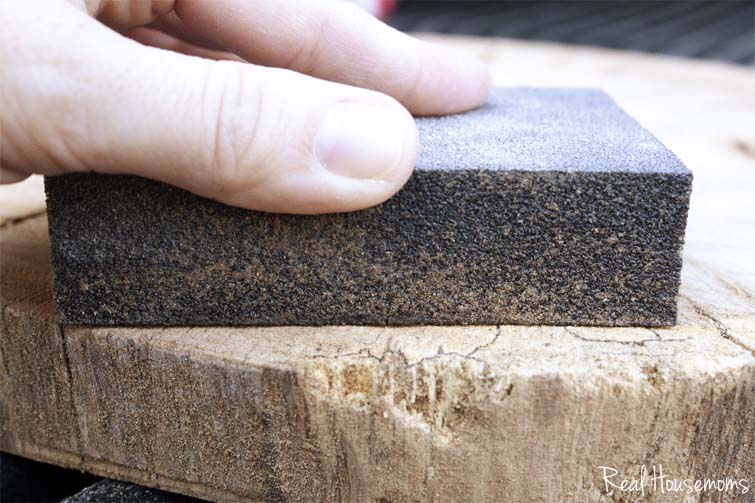
Sand both pieces thoroughly to your desired smoothness.
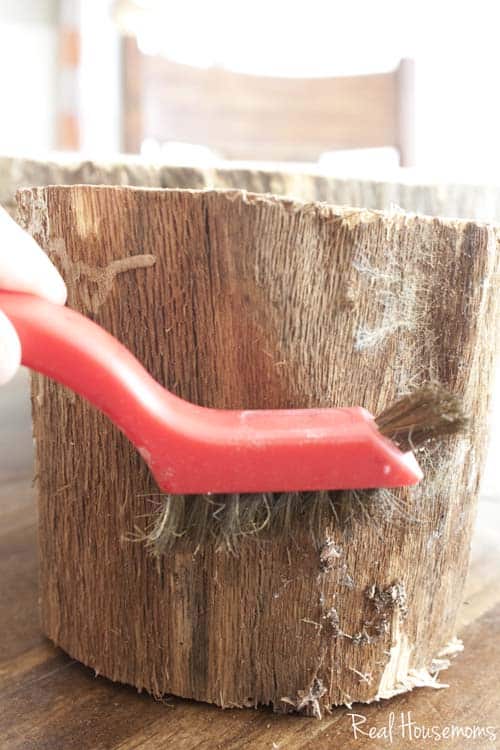
Then you’ll want to brush with a wire or nylon brush to remove any loose pieces. Wipe down thoroughly with a damp cloth. You could also run it under water if you prefer. Allow to dry thoroughly.
Once they are nicely cleaned up, you’ll want to bake them. Yes. Bake.
That way, you get rid of any creepy crawlies that may be hiding away. You’ll bake them on a foil lined baking sheet at 250 degrees F for about an hour. DO NOT LEAVE UNATTENDED. Allow them to cool completely before continuing.
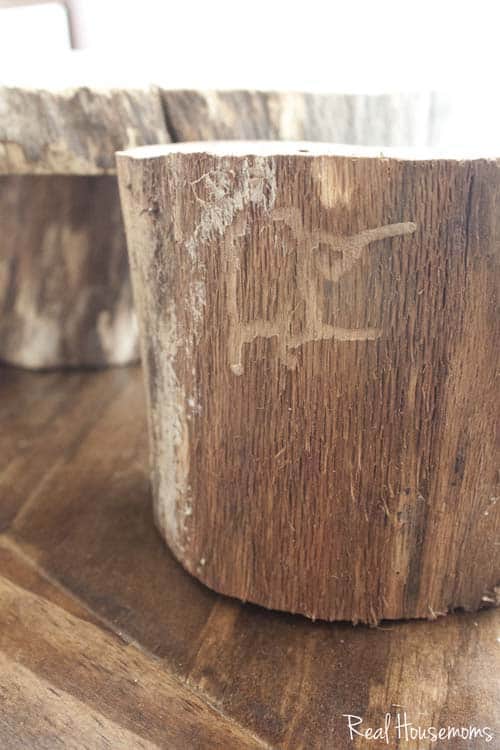
I swear this one is saying ‘Hi’ all fresh from the oven!
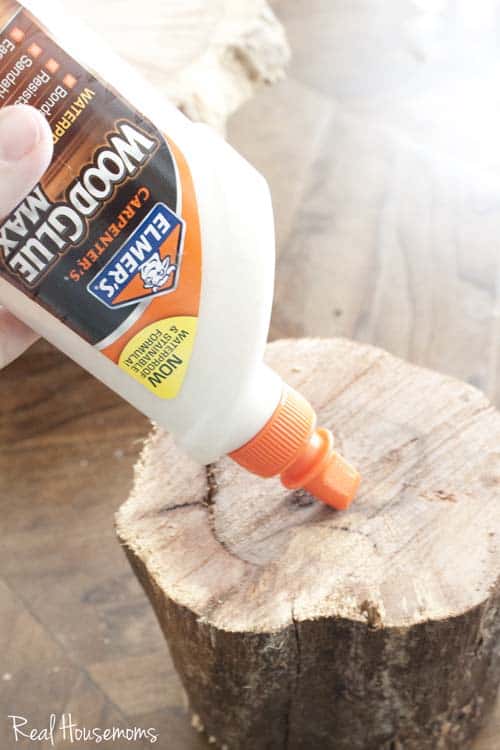
Now it’s time to assemble. Apply a generous amount of wood glue to the base.
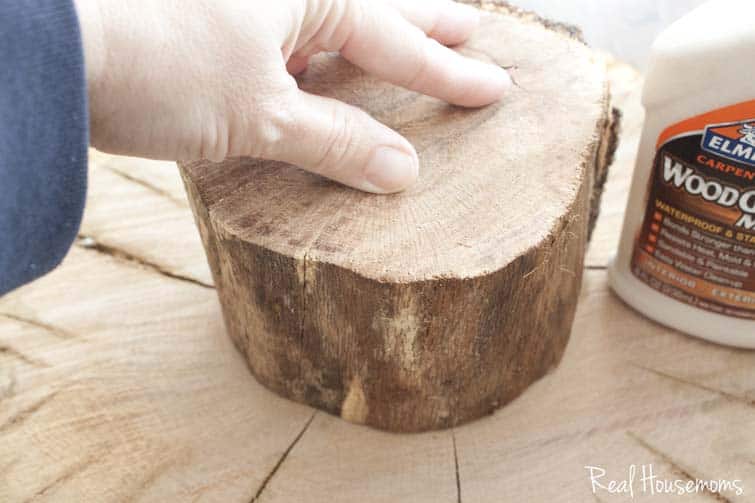
Turn the top over and place the base on the bottom being sure that it’s centered and fits snugly. Make sure you’ve tested the fit prior to applying glue.
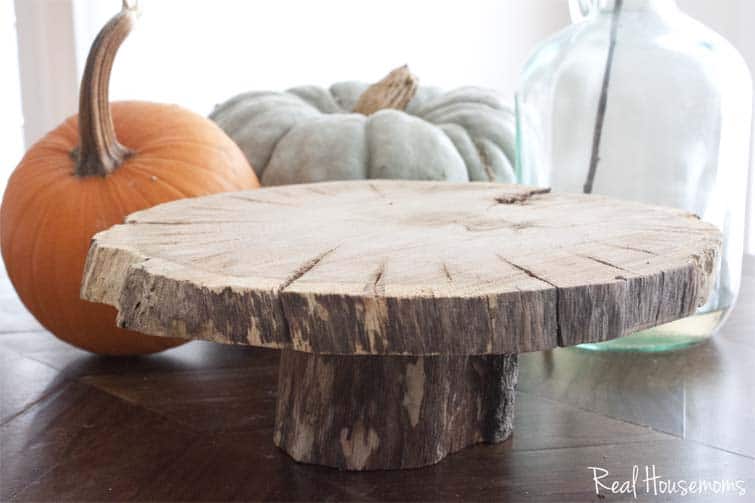
Once it’s dry it’s ready for your holiday table.
When I was making ours my husband asked, ‘What are you going to seal it with?’ Well. Sealing it is totally optional because, really, what’s safer to put your food on than fresh, natural wood from your yard. But if you’re interested in placing food directly on the surface you might decide to seal it.
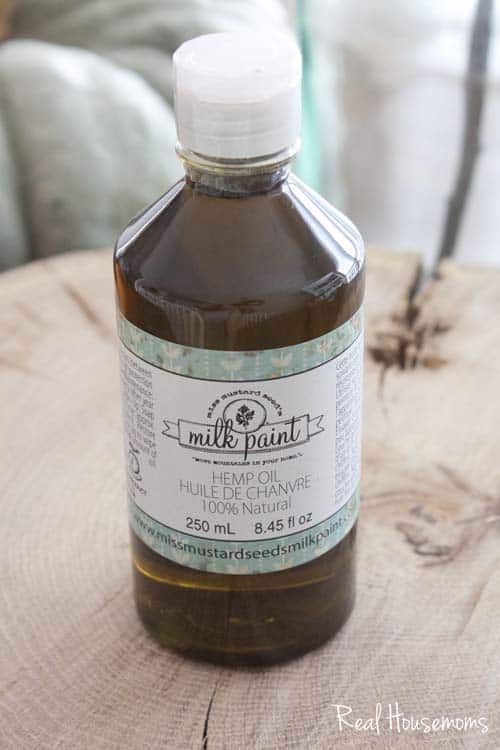
To seal ours I used a 100% natural food grade hemp oil. One or two coats is all you need!
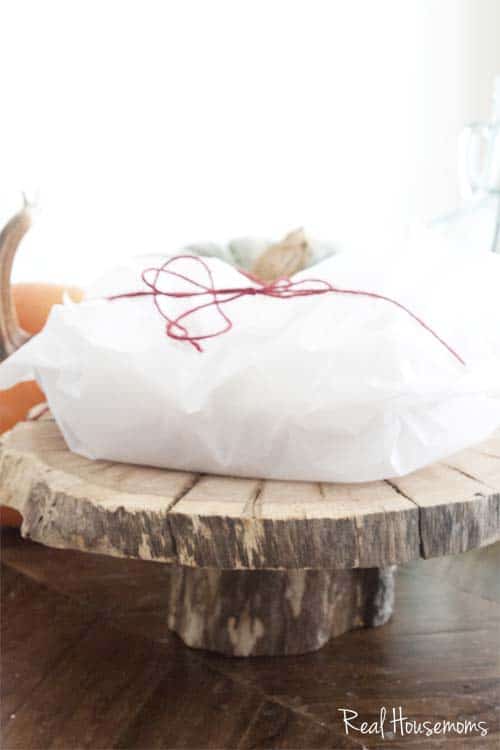
Wouldn’t this make a wonderful gift?!
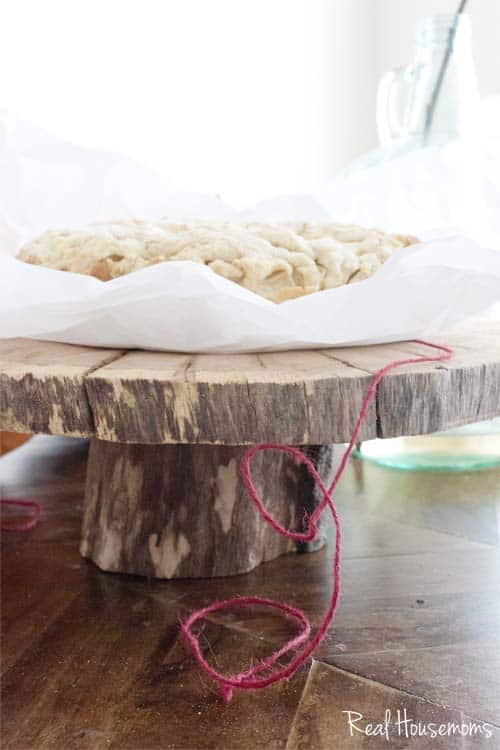
The uses are endless from showcasing desserts to centerpieces.
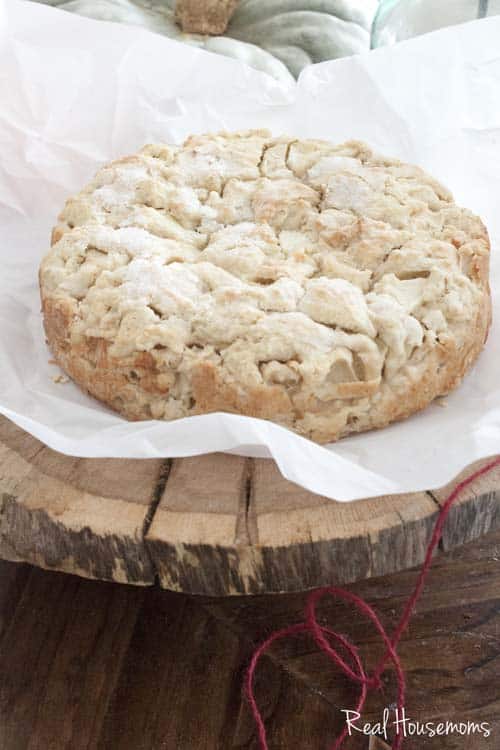
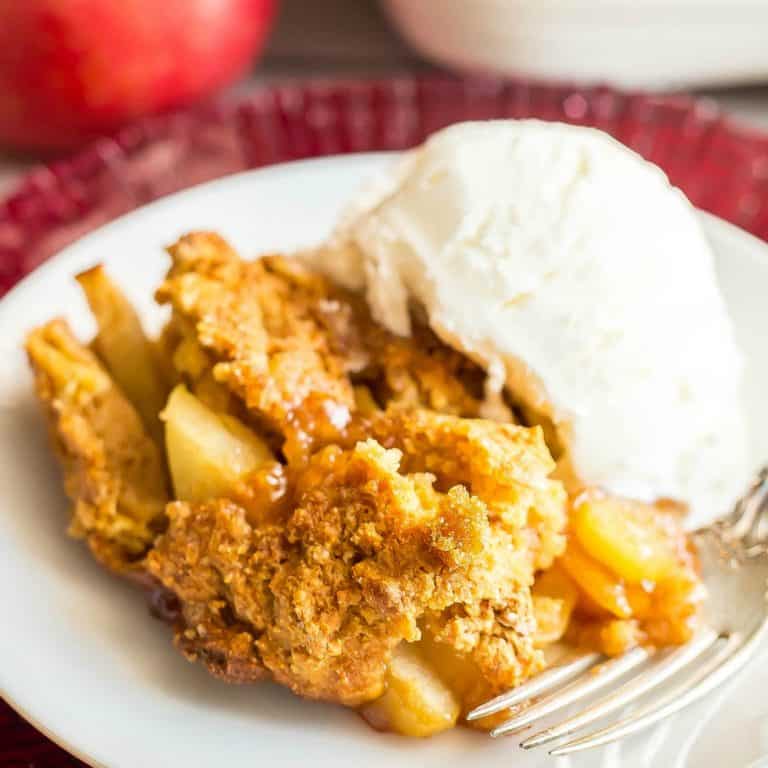
Home baked goodies are optional but definitely a plus!
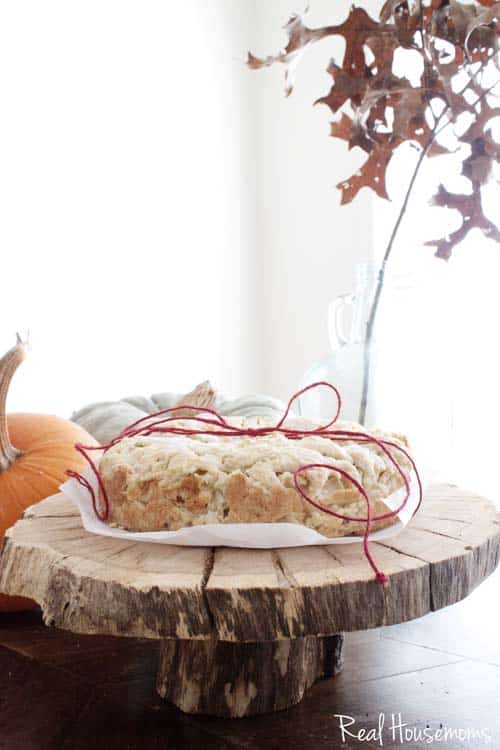
I don’t know about you but this definitely inspires me to do more “yard clean up”.
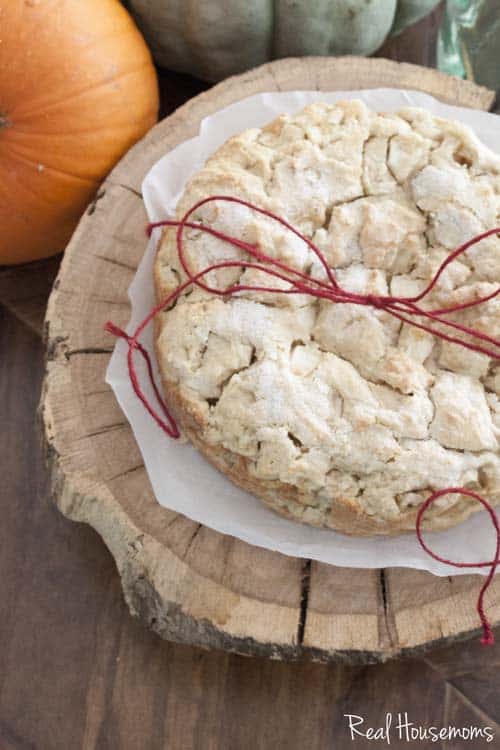
Happy Holidays!
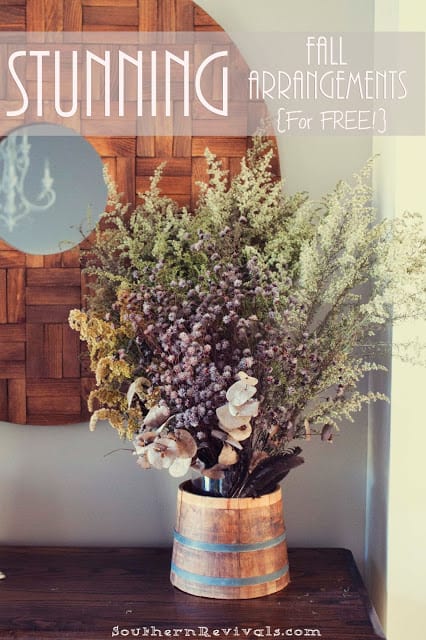
This isn’t the first time I’ve turned to the yard for a gorgeous {and FREE} centerpiece…

Lovely! I am going to be doing this for a grad party. Thank you for sharing! What is the delicious looking baked item you are serving with it?
It’s beautiful. I did try make one but it didn’t come out as well as yours. How did you keep it from cracking like crazy as the wood dried?
Great tutorial. I was planning on making one of these for an upcoming baby shower that is Woods themed. Then your post popped up. Yes! Thank you