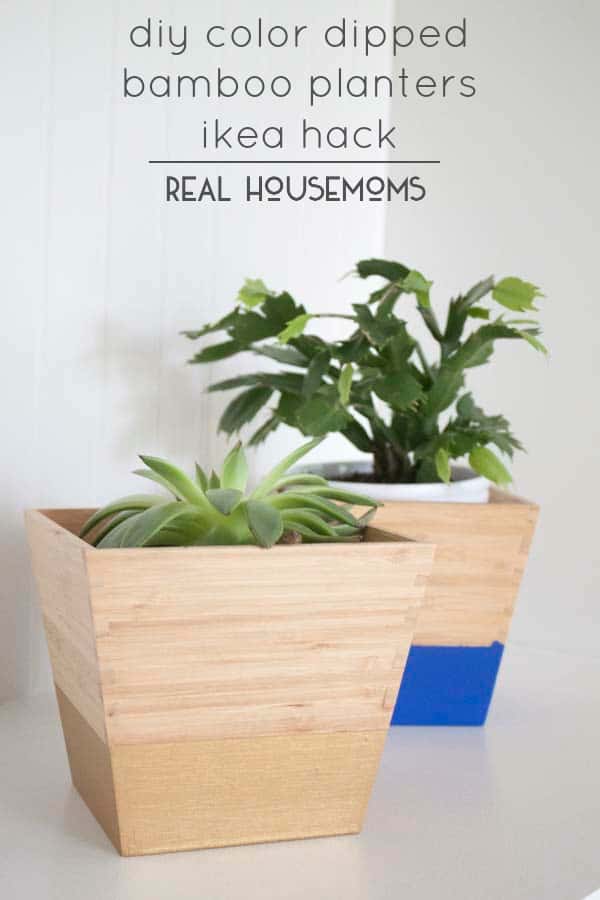
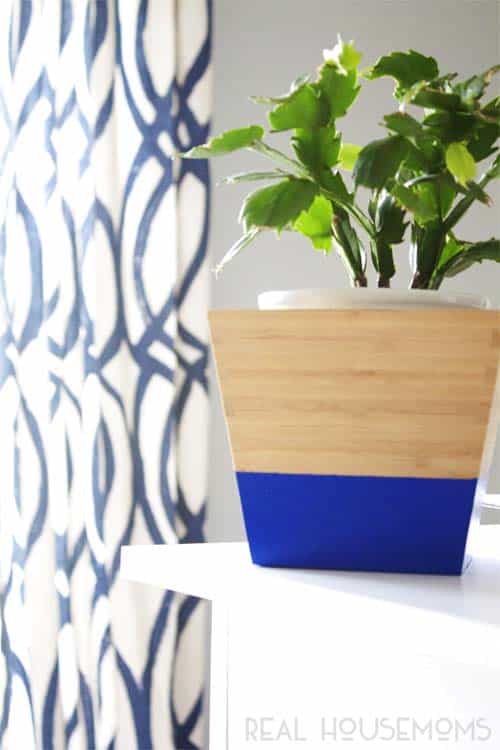
This DIY Color Dipped Bamboo Planters | IKEA Hack is quick and easy and will show you how to look like you’ve spent more on these bright and cheerful modern planters while still leaving you money left over for the plants to put in them.
Despite the fact that I live in the Deep South our Spring Break has been anything but Spring-like. I mean, I guess May showers and all that, but we’ve worn jackets the last couple of days, too because it’s been so chilly. And I am a weirdo because I love it and I would take all my Spring Breaks like this if I could get them this way. But I know it for what it really is and that’s just a few days reprieve from the straight jump from something we jokingly refer to as Winter and the all too real Summer that soon follows. If we get anything like Spring weather at all it’s just a couple days here and there so you won’t find me complaining about this cozy Spring Break.
Either way my garden is all planted and growing fast and I’ll be keeping my fingers crossed that the heat doesn’t set in too soon and burn it all up. The probably of this happening and the fact that I just really love plants, is probably what prompts me to plant indoors as well. And while there is a plethora of planters to choose from they can be so expensive. I don’t know about you but I’d rather spend all of that money on the plants instead. I find that I can never have too many of those!
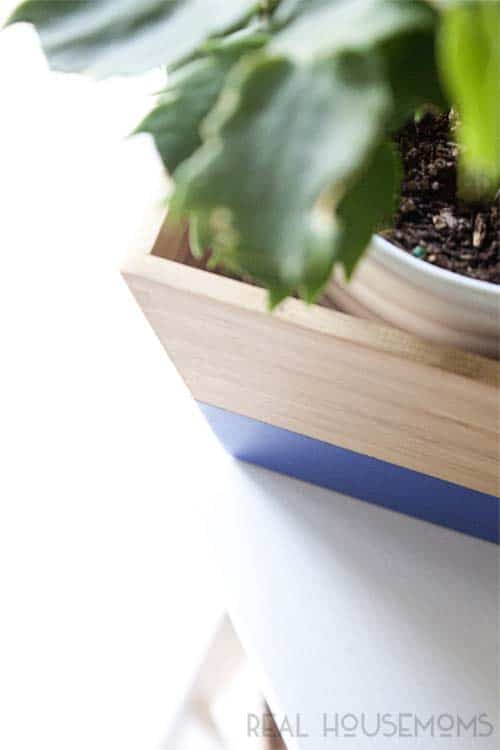
These bamboo garden planters from IKEA are just under $5 each. Perfect for indoor planting, eco-friendly and bamboo is a perfect material for coming in contact with moisture. So the last time I was at IKEA I picked up several and while I like the look of them all on their own I wanted to dress them up a bit. I’m sure by now we’ve all taken note of the “dipped” trend and I was anxious to try it out on these planters.
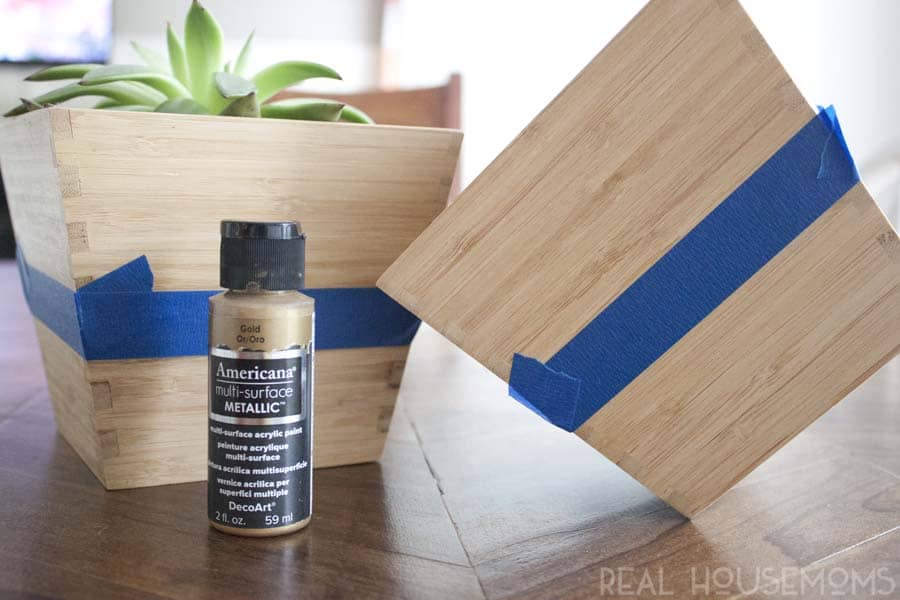
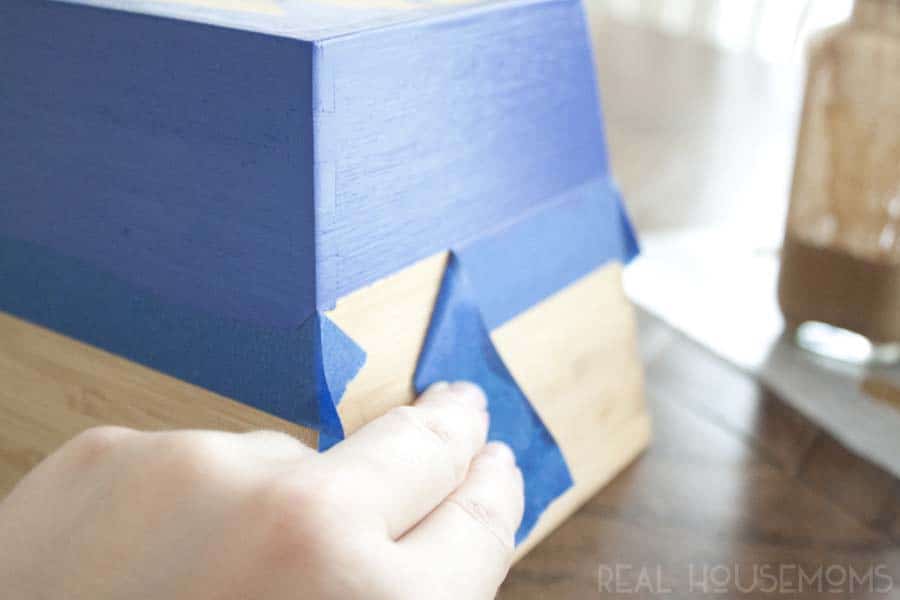
I started by taping off approximately a third of the bottoms section of each planter with painter’s tape.
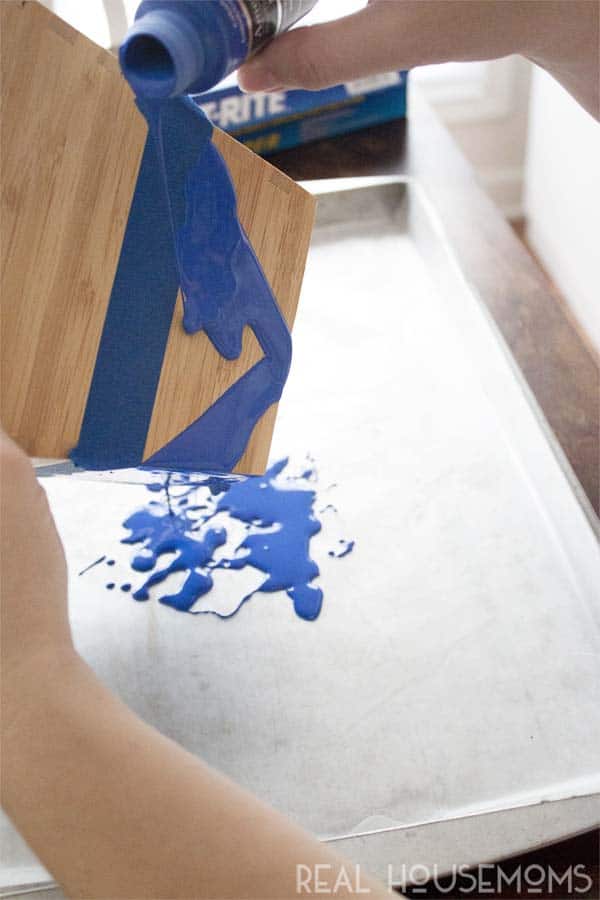
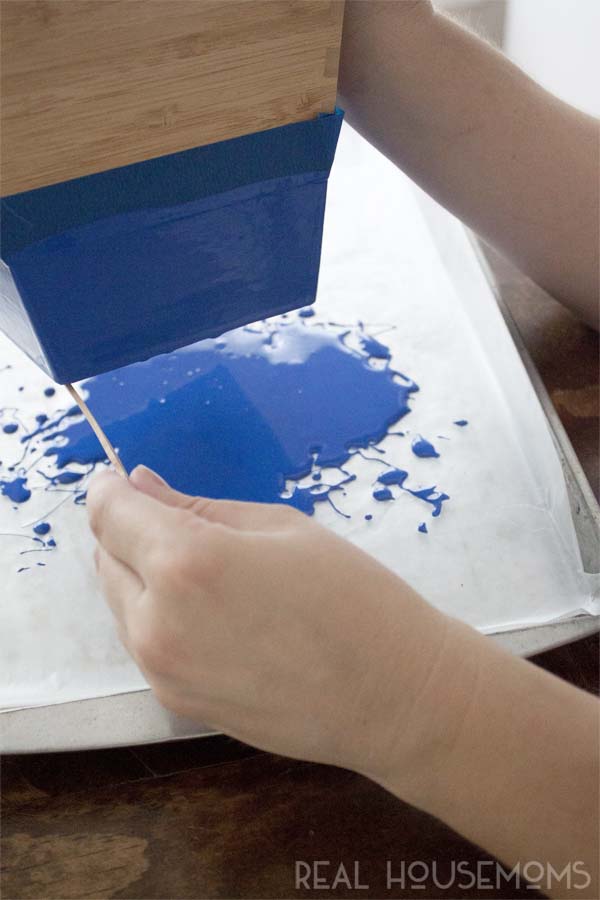
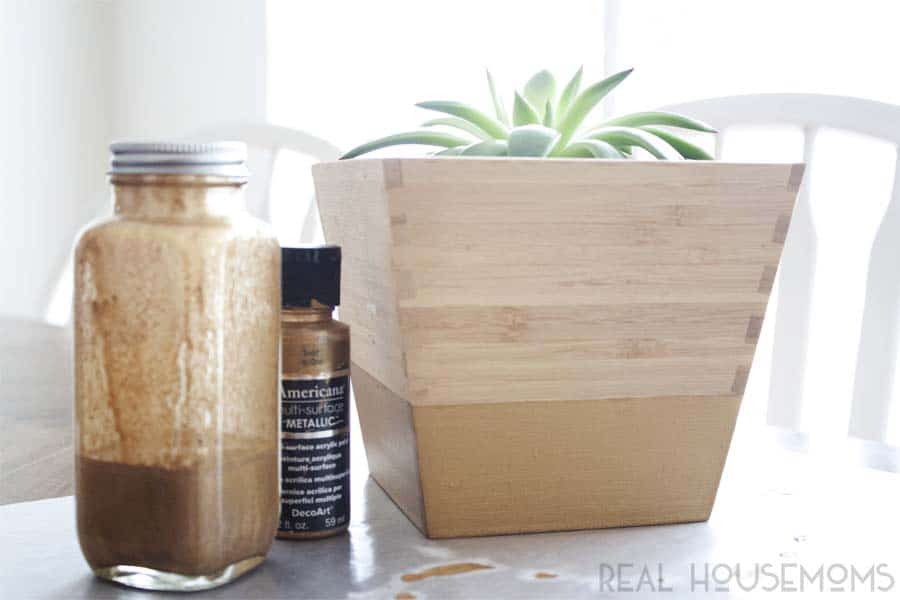
Rather than actually dip them into the paint, which I find is too wasteful, I just decided to drip the paint down the sides of the planter over a large tray covered in wax paper.
This way if I needed more or if there was paint left over I could easily place it back in the bottle.
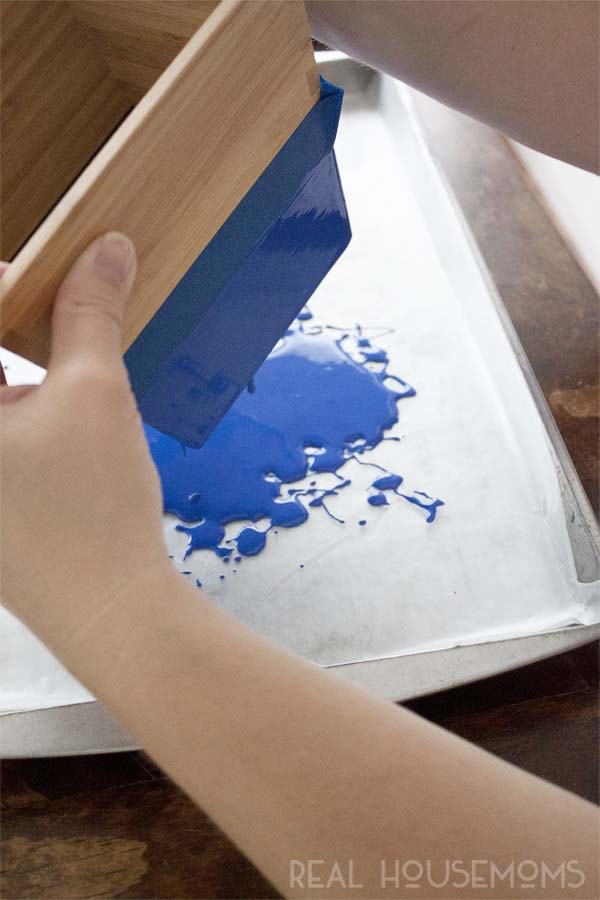
I wiped away any extra drips with a Popsicle stick.
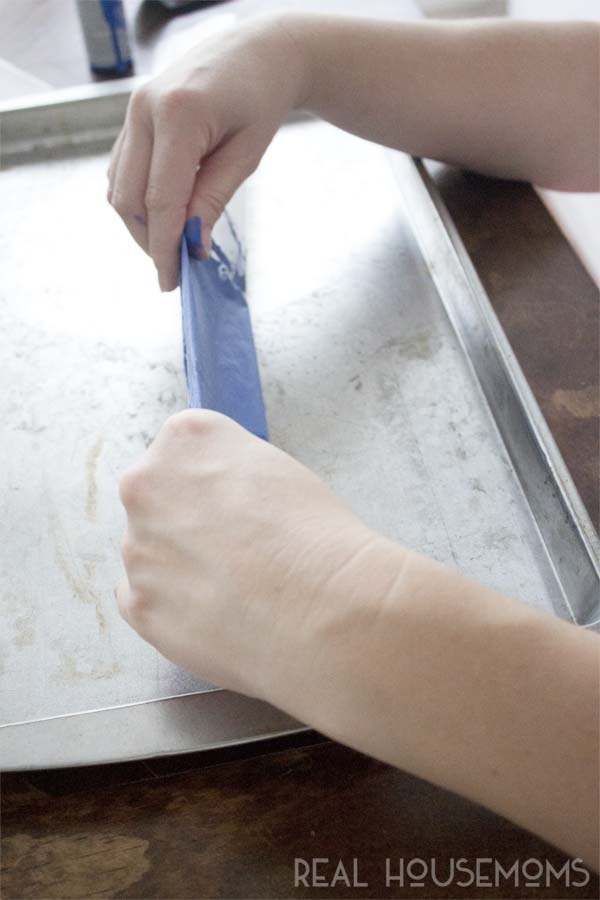
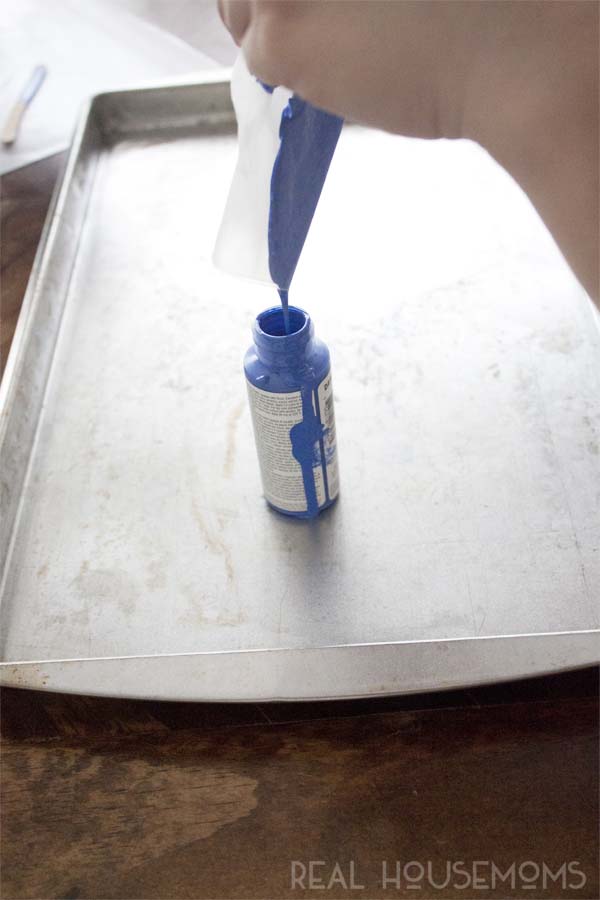
And because I hate to waste, I burrito rolled the wax paper to catch the additional paint.
This made it east to pour the excess back into the bottle.
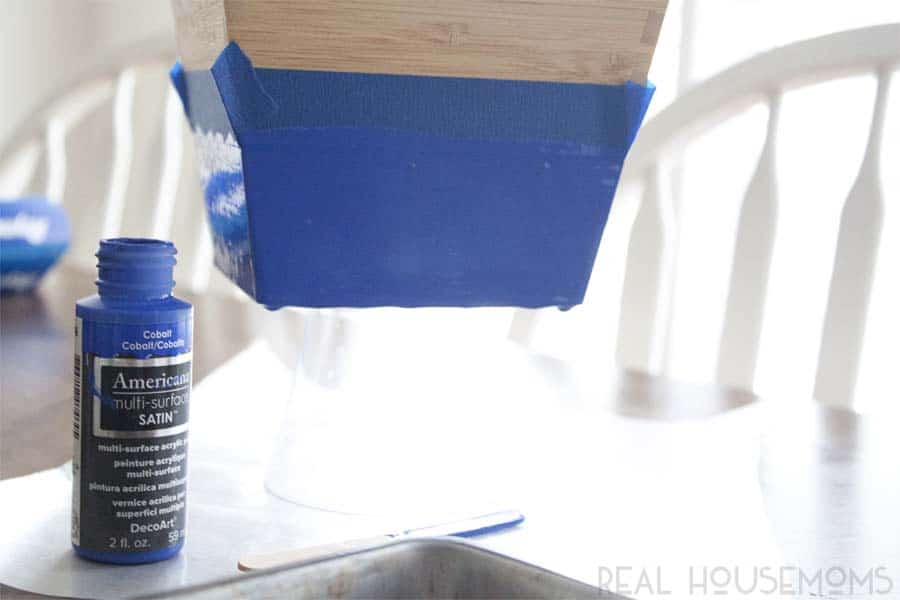
Then I stood the the planter on top of a glass jar to dry. You’ll want to place all of this on a tray with wax paper as well to catch any drips.
Allow it to dry approximately 24 hrs, more or less, depending on the thickness of your paint and whether your Spring Break has been a monsoon season.
If you notice any paint puddling along the edges at the bottom you can gently remove it with a wooden Popsicle stick or anything you have on hand that you don’t mind getting paint on. Careful not to touch the actual finish on the sides when doing so though.
Once they’re dry you’ll simply peel back your painter’s tape and enjoy your new jazzed up planters. Painter’s tip: to combat bleeding under the tape simply brush the paint along the edges of the painter’s tape where it meets your surface prior to starting. This will help to activate the tape and lock it in place.
If you’re using a metallic paint and find it’s too thick, pour it into a larger container and add a little water until it reaches a good dripping consistency.
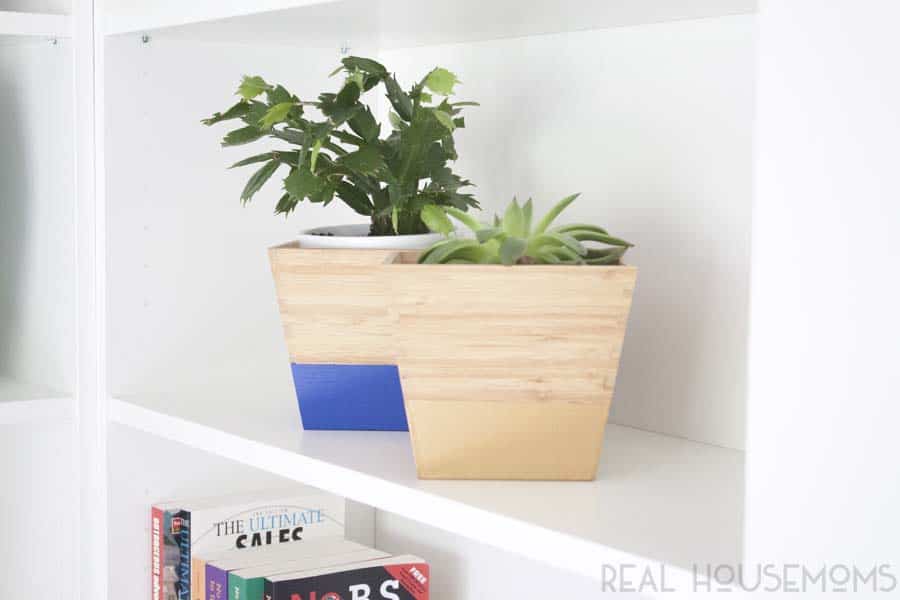
And there you have it! A quick and simple way to update, modernize or may more playful your simple planters and save money for the really fun stuff. The plants!
Now I’m off to buy more plants! I’m looking for an Artichoke plant next and a Fiddle Leaf Fig. What’s on your must have list?



Linda @ Over Sixty Dating says
Lovely idea, will grace any shelf or windowsill. Great blog, thanks for sharing.